CONNECTING VIA ETHERNET
If your DStv Explora is in the same room as your router, or if you want to connect the two directly, you can link them using an Ethernet cable.
Before starting, ensure that your internet router is switched on and connected to the internet.
- Press the Blue DStv button on your remote
- Go to Settings
- Select System Settings
- Select Connectivity Set-up
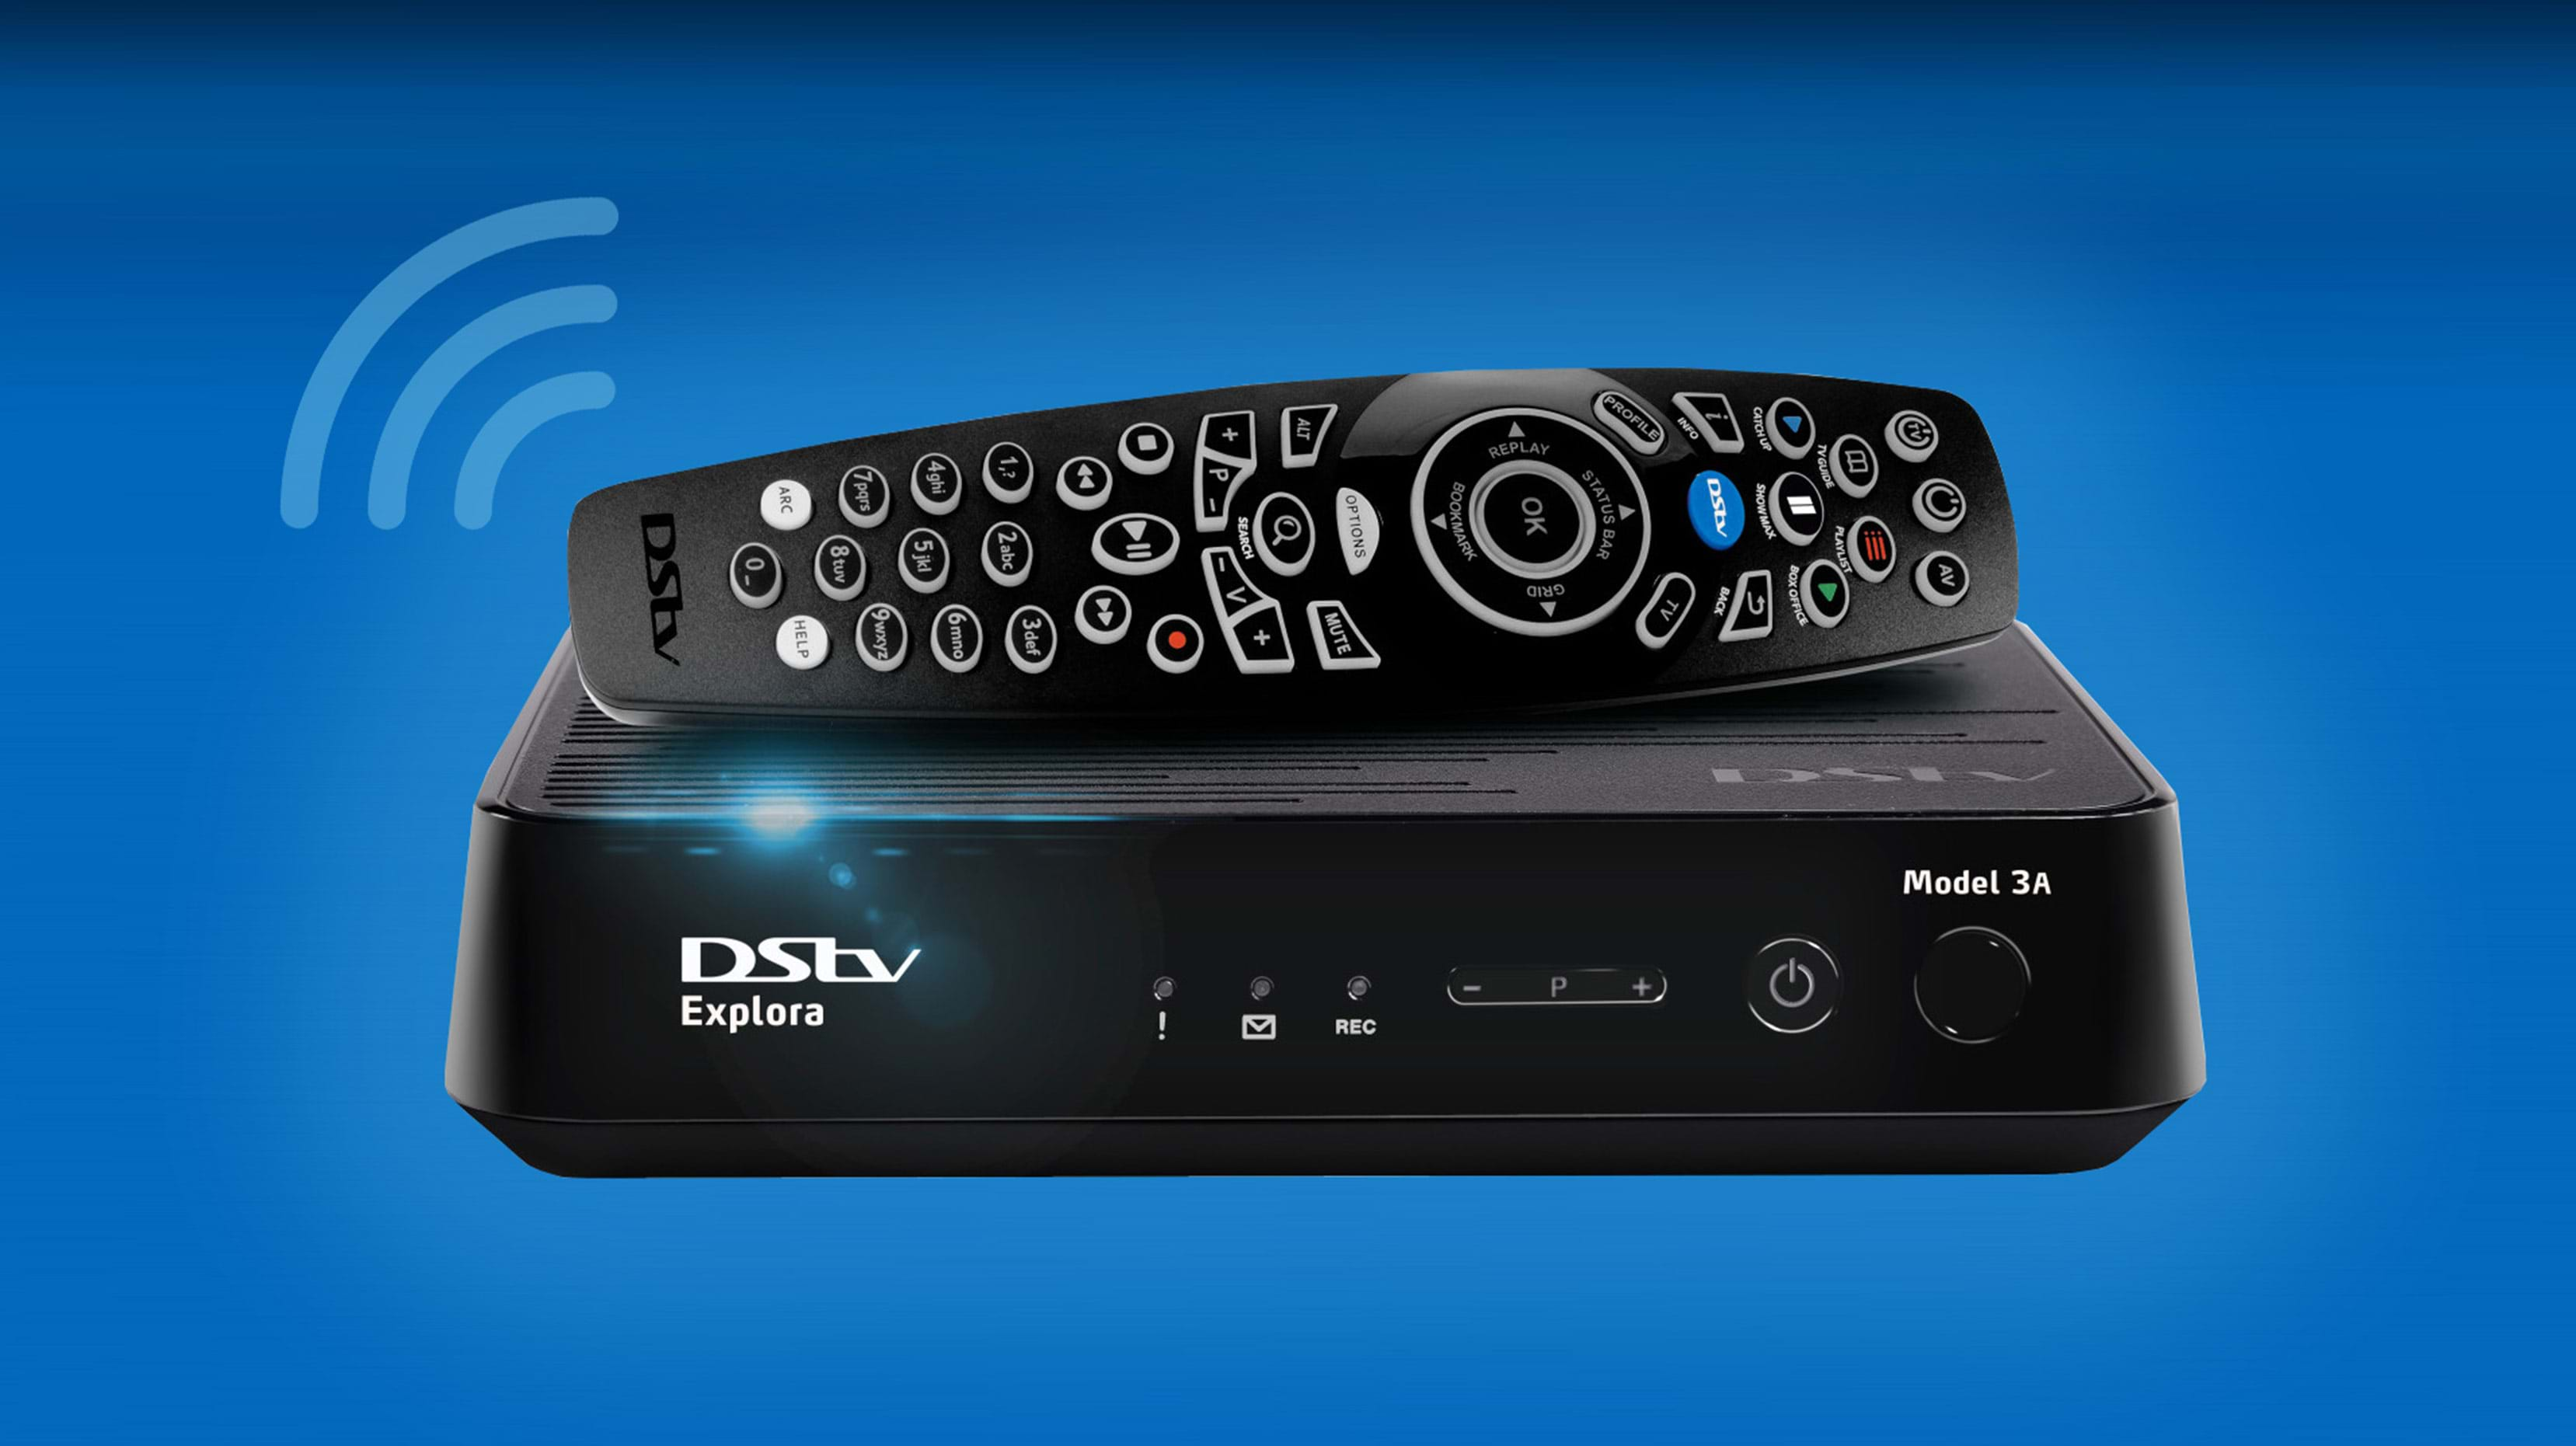
- Now insert a standard Ethernet cable directly into the green Ethernet port on the back of your DStv Explora and then insert the other end into an available Ethernet port on your router
- The DStv Explora will now automatically run the set-up wizard and test connectivity to the internet
Once you’ve connected your DStv Explora to the internet, you can check connectivity at any time. Press the HELP button, select Tools, then select Connectivity Checker.
CONNECTING VIA DStv WIFI CONNECTOR
If your DStv Explora isn’t in the same room as your router, or if you want to avoid running a cable from your router to your DStv Explora, you can connect them using a DStv WiFi Connector.
Before starting, ensure that your internet router is switched on and connected to the internet.
- Press the blue DStv button on your remote
- Go to Settings
- Select System Settings
- Select Connectivity Set-up
- Connect the cable on the docking station to the USB port on the back of your DStv Explora (if your Explora has a USB port on the side, don’t use that one).
- Insert the DStv WiFi Connector into the docking station and place the docking station next to the decoder. (The DStv WiFi Connector can also be connected directly to the USB port on the back of your decoder, however this may impact signal reception). The LED on the DStv WiFi Connector should now be solid white (confirming that it has power)
- The DStv Explora will now automatically search for WiFi networks and display the available options
- Press OK on the remote to select your WiFi network, then press OK again to connect the DStv Explora to your WiFi network
- If your WiFi network is not found, move the docking station to a position where it is most likely to receive a WiFi signal
- If your WiFi network is still not found, check that your router is switched on and connected to the internet
- If your WiFi network has a password, enter the password now. You can enter the password using the alphanumeric buttons on the remote control, or by pressing ALT to use the onscreen keyboard
- If your password includes a character that is not on our onscreen keyboard, please change the password on your router
- If you enter the password incorrectly, the screen will show an error message (Incorrect password. Please try again)
- Please delete the entered password and try again
- The DStv Explora will now automatically test connectivity to the internet.
Once you’ve connected your DStv Explora to the internet, you can check connectivity at any time. Press the HELP button, select Tools, then select Connectivity Checker.
Please note that data costs apply. You can read more important info here.